Refacing Kitchen Cabinets in Prescott AZ

Refacing Kitchen Cabinets in Prescott AZ

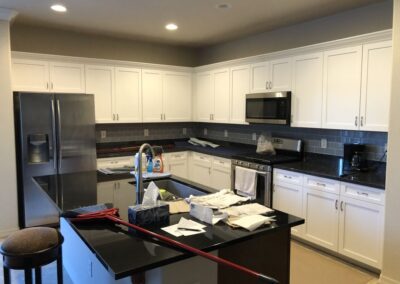
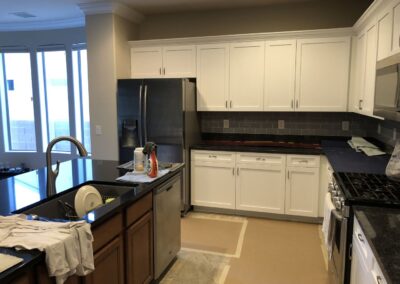
I’ll have to admit, Michele’s kitchen was a challange 🥺. She has custom made cabinets that have different sized face frame styles and she wanted quarter inch spacing between all doors & drawer fronts. We ended up buying four different back-set hinge styles 🤦!! I figured there was over one thousand calculations to get this job done, and I made a ton of mistakes. Michele took it all gracefully as I had to reorder 18% of the fronts 💰.

She frequently referred to this house as one of those “money pits 🤑,” where you just have to replace this BC you repaired that. They knew when buying this that there would be a lot of changes, and it was her husband’s full-time job doing most of the remodeling 🚧 hisself. One of the more notable changes was to remove most the wall-to-wall 96 inch tall storage cabinets that were piece-built in two garages. I would estimate that this amounted to a whole bunk of 3/4″ particle board scraps.

Her cabinets turned out smashing 👏 and she loved it!!

Now that the kitchen was finished, Michele had another project for me, a set of bypass doors.

White maple Shaker style bypass doors

MONDAY, May 2nd, 2022, happened today – like ALL DAY, 💩 nonstop!!

MONDAY, May 2nd, 2022, happened today – like ALL DAY, 💩 nonstop!!

To sum up my day, it all started when I arrived at my cabinet install job in Dewey. I mistakenly backed up my 2007 Ford van 🚐 onto loose gravel in Doug’s driveway and got stuck. It took me 90 minutes to get it back on the pavement & now I have some landscaping clean-up to do 😒.
The job at hand today, was to remove a DB18 & replace it with the original cabinet I had for it, a DB15 (don’t ask me why 🤮). I also had to relocate the plumbing holes in the SB36 floor (plumbing comes from the floor for mobile homes) and make patches for the slotted holes (I’ll take a picture of it tomorrow). Starting at about 10:30 am, I got it done finally at 2:30 pm.
Next, I realized that the DW was hard-wired with an 18″ cord, which isn’t a problem, unless you want to replace it. I guess it was installed 2 years ago by Home Depot. Don’t know HTF they did that without removing the countertop 😳???
Then I discovered that the countertop had some 1/4″ hardboard glued to the bottom (we are re-using the Formica post-formed tops). This became an issue with his wife.
They were going back & forth about these issues, so I thold them that they can discuss it all & I’ll go get materials for it. That was at 3 pm. But I still made it home before 5:30, so it was a GOOD DAY!!!
I forgot to mention that the DW was a short (24″) live-wired connection that got shorted out when I tried pulling it away from the wall & had to fix that so it wouldn’t happen again.
Bob’s Wall-to-Ceiling Crown Molding & Kitchen Remodel

Bob’s Wall-to-Ceiling Crown Molding & Kitchen Remodel

It’s not elaborate at all, we’re changing the stained wood into white shaker, but not touching the island. And we’re not done yet.

Bob’s project started on September ‎01, ‎2020.  He’s been through 2 painter companies for his doors, and taking them to a shop in Phoenix for the third go-around. Today, September ‎10, ‎2021, I drilled the doors for hinges.

And I really feel good because when I went to layout the doors and drawer fronts, I only got 1 wrong, and Bob can probably use it as a frame for an artwork crafted by our local merchants.

I had finished the wall-to-ceiling crown molding on Thursday, September ‎02, ‎2021.

This is something I hadn’t done for over 20 years. And as sure as God made little green apples, I had zero experience at pricing this project. But I wanted to do it and gain this knowlege.

He wanted 6 inch crown molding, and that monkey is not available in our small town, so I had to order it. I ended up getting 14: 3/4 x 6-1/8 x 84 Primed MDF Crown Moulding pieces. More pieces equals more joints. Great start for underpricing this job. Next, we need to paint it and since it’s already primed, I get to skip that step – WRONG!! The primer was obviously laid on with a machine – very, very wavy. So now the trim has a texture that needs sanded (see pics) AND an extra coat of paint because 50 percent of the primer got sanded off! More time for underpricing!! Then I start the project with a return-to-wall trim piece – WRONG!! I should have started where the paint color changes (see pics). So this misstep burned a few more hours.


Woodworking Mistakes

The job took about 30% more time than I had bid. Naturally, the joining of the crown took the most time. And about 75% of the way through this project, I realized that using a biscuit cutter would save time and even the joints out better.

I had introduced to Bob that we could use rubber molding for the curved bay window area, but it was a lot more expensive. I’m glad we didn’t use it, because you’ve only got one shot with this. Miss by over 1/16th of an inch, and I buy a new one. There was also no guarantee on how it would match up to the straight trim. I ended up making it with 6 pieces, about 17 inches long each to span the almost eight foot compass window.
I had unknowingly under bid myself on his wall-to-ceiling crown molding, but it’s no big deal,as I wanted to add it to my portfolio. I was solving someone’s problem, while I was prospering on my main goal.

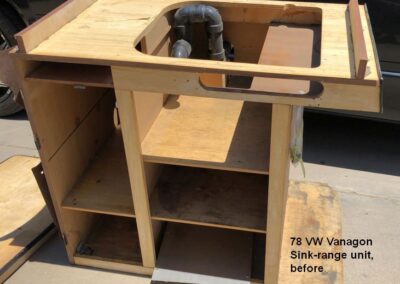
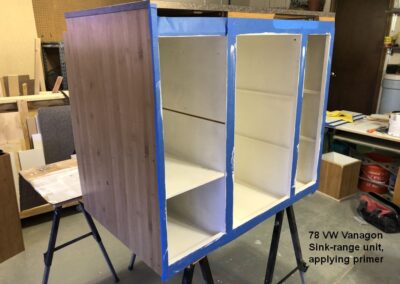
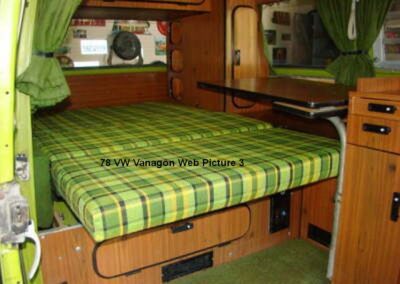
1978 VW Vanagon (Westfalia) Camper Cabinet Restoration

1978 VW Vanagon (Westfalia) Camper Cabinet Restoration

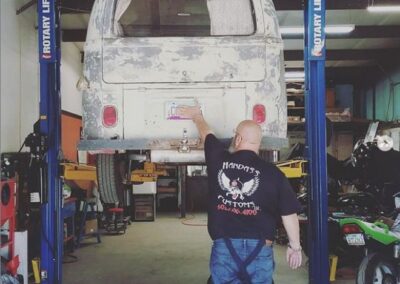
Z and Andy run a custom bike & vintage auto restoration & repair shop in Prescott Valley, AZ


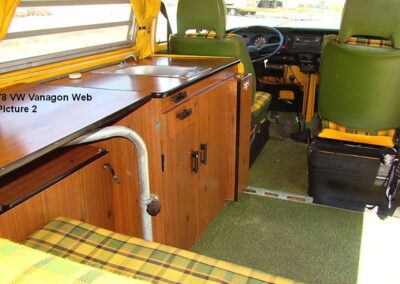
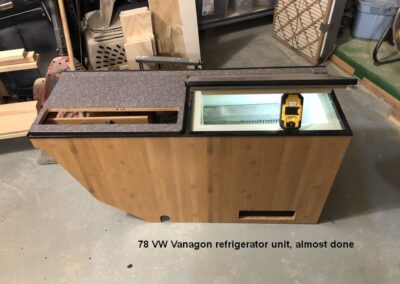
Z found me on Craigslist on June 1st of last year. He introduced me to Andy, who has coordinated the build. They needed somebody to restore the cabinets & panels for a 78 VW Vanagon. This will be a project for me that will likely take about 4 weeks of off-and-on work set between other works (mainly cabinets).

Verified by MonsterInsights