Kitchen Reface with Horizontal Grain Plastic Laminate
Tracey was looking for a craftsman who could make her kitchen updated with a unique Euro design, and found me from a referral. She also wanted to incorporate these convenience options: sink tip-outs, trash tilt-outs, file drawers, tray storage, and two appliance lifts.
I discovered this easy-to-use, versitle plastic foil, Northern Contours 9013 Oyster Bay 3D laminate for verticle surfaces with this job. White with gray veining, it looks like bleached eucalyptus with the durability of Formica plastic laminate.

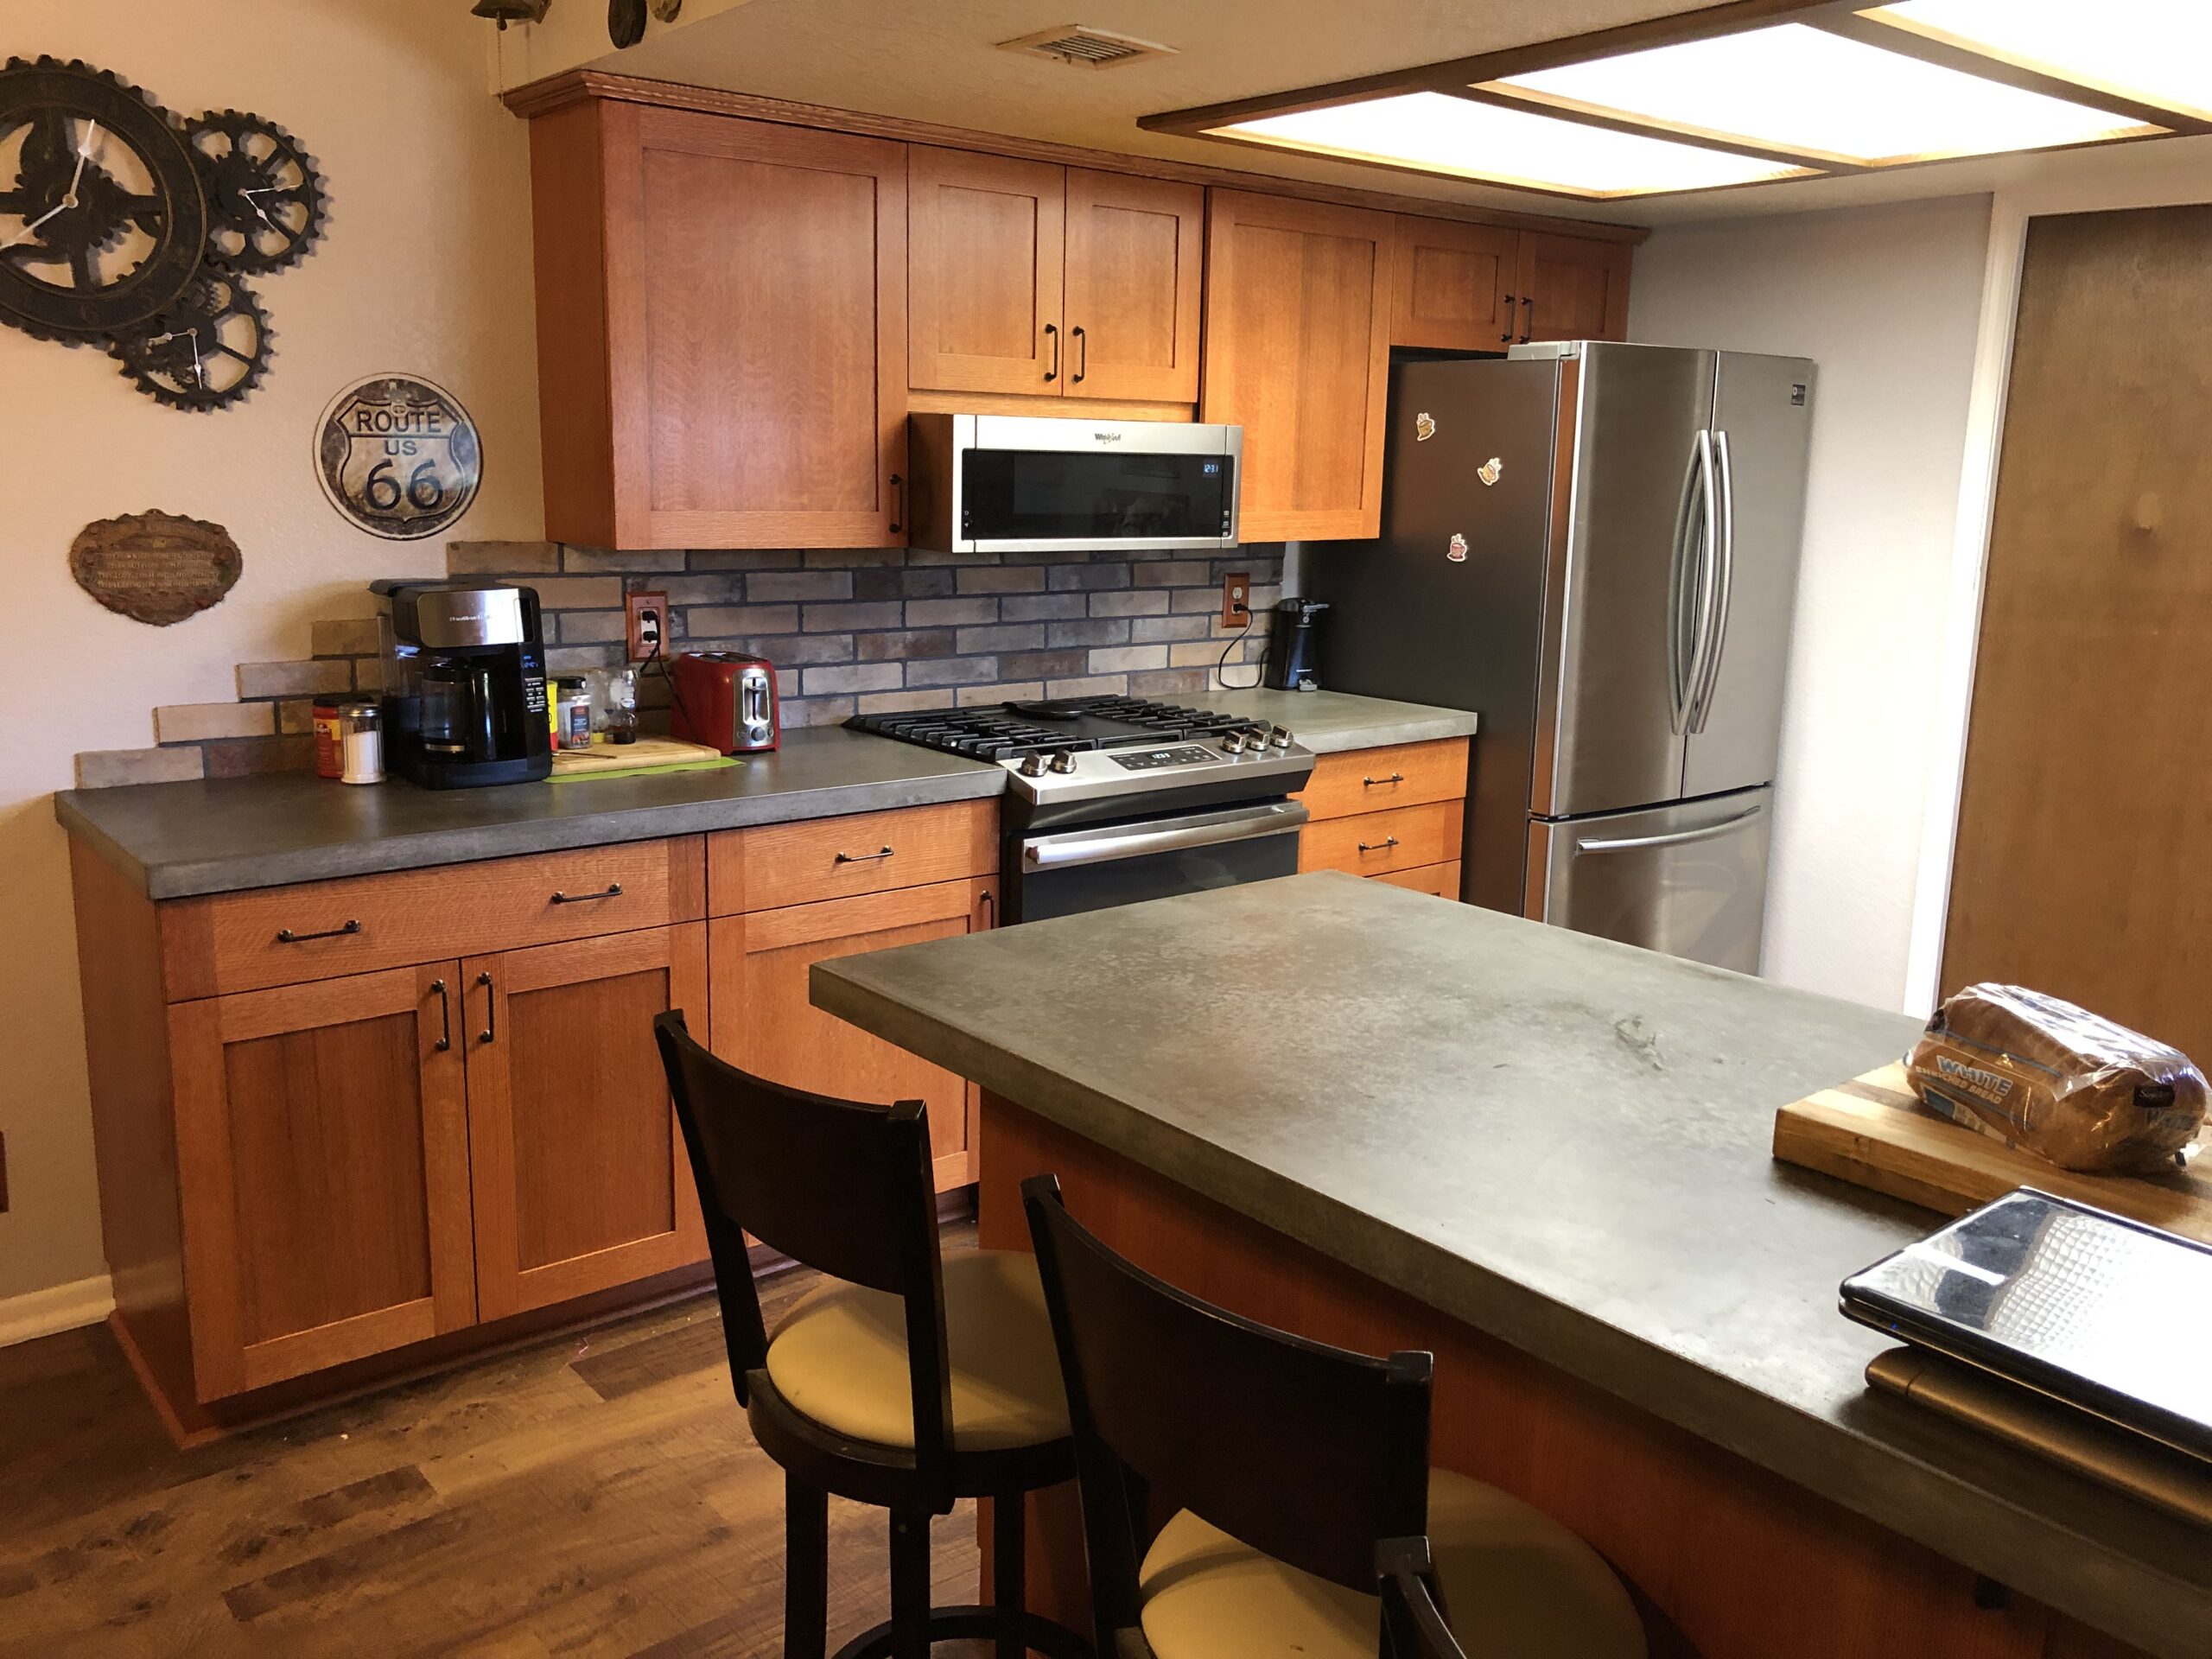
Tracey’s original knotty alder kitchen
#image_title

Kitchen layout drawing via SmartDraw diagramming software
#image_title

Convenient corner cabinets refaced.
#image_title

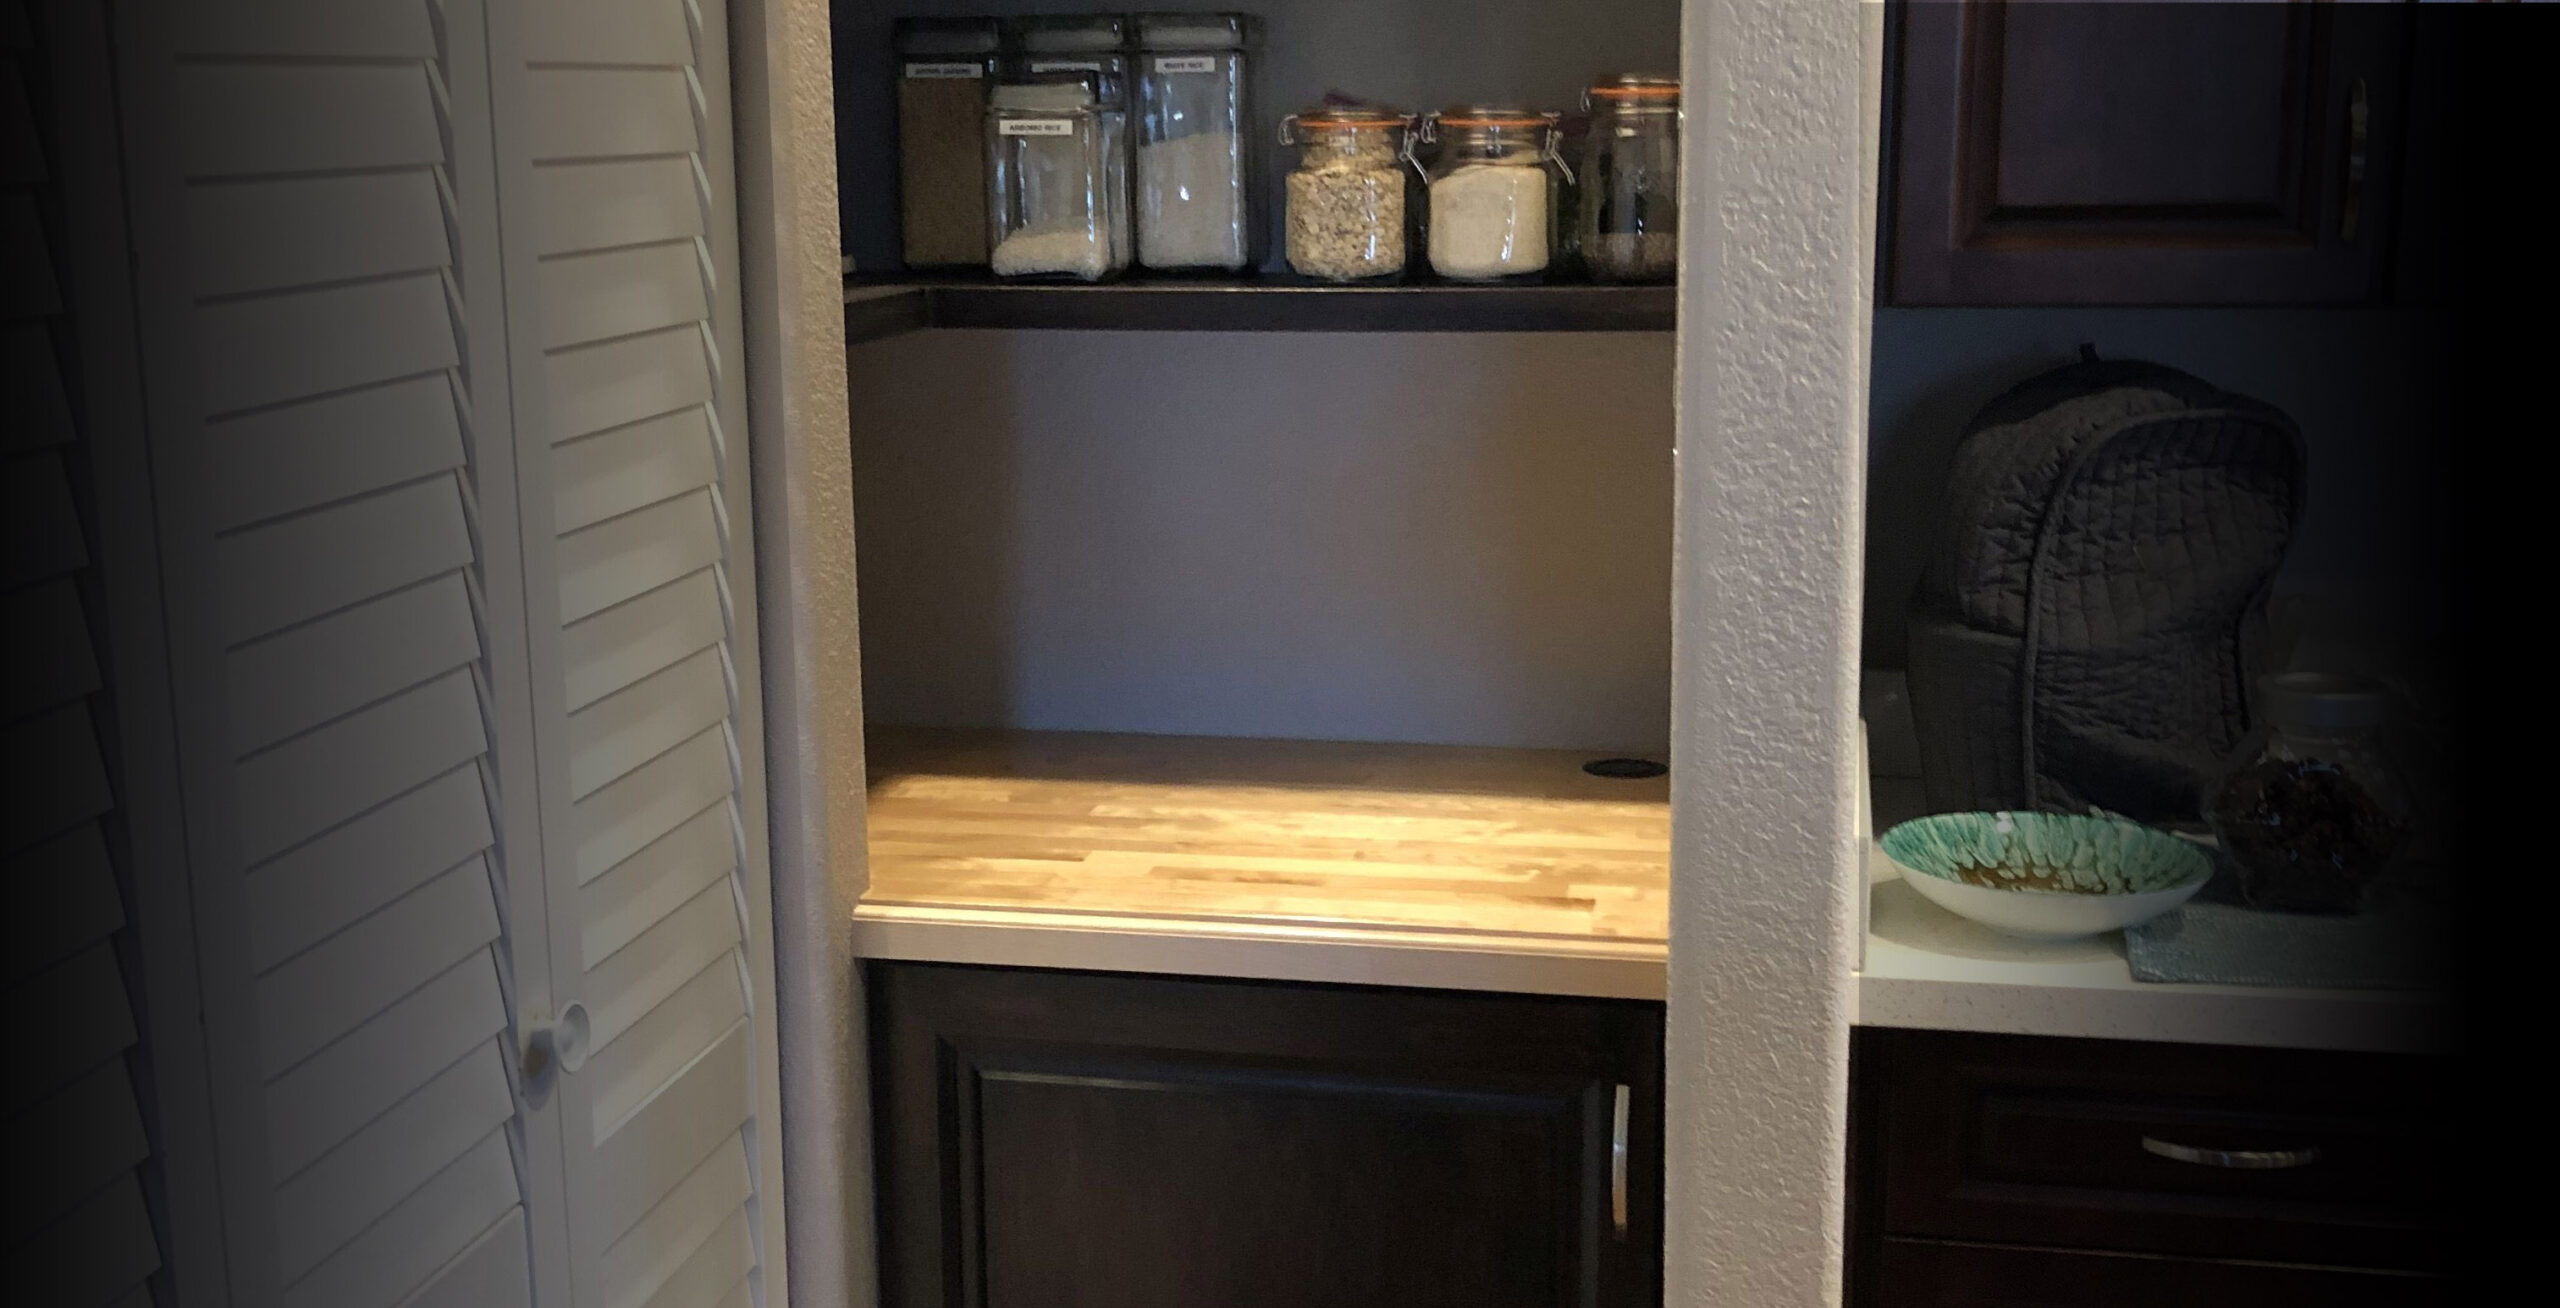
Appliance lifts for mixer and toaster oven
#image_title

Double trash tilt-outs in a 12″ base cabinet
#image_title

Custom metal extension for a kitchen breakfast peninsula
#image_title

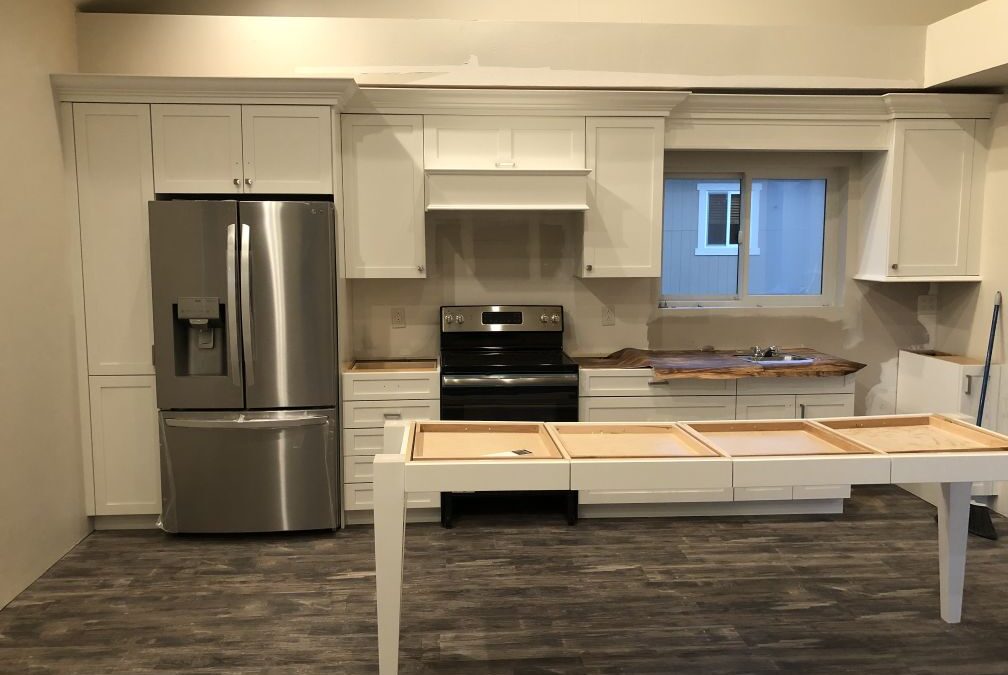
Tracey’s Oyster Bay 3D foil kitchen reface, sink wall
#image_title

15-inch tray cabinet with Oyster Bay 3D laminate
#image_title


 Camper Cabinet Restoration 51")
 Camper Cabinet Restoration 52")
 Camper Cabinet Restoration 53")
 Camper Cabinet Restoration 54")
 Camper Cabinet Restoration 55")
 Camper Cabinet Restoration 56")
 Camper Cabinet Restoration 57")
 Camper Cabinet Restoration 58")
 Camper Cabinet Restoration 59")
 Camper Cabinet Restoration 60")
 Camper Cabinet Restoration 61")


 Larger 76")
 Larger 77")
 Larger 78")
 Larger 79")
 Larger 80")
 Larger 81")
 Larger 82")
 Larger 83")
 Larger 84")